Setting up ArUco on your PC
Setting up opencv’s ArUco library for marker detection

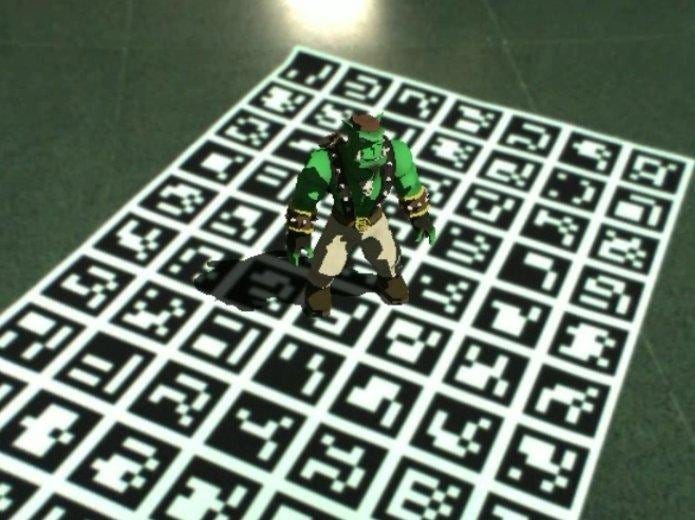
The ArUco library for OpenCV is a lightweight C++ wrapper for Augmented Reality applications. Its simple, efficient and versatile enough to detect hundreds of unique AR markers.
Pre Requisites
- Setup OpenCV on your PC. Get the installation instructions here
- Basic CMake knowledge. For starters, first two steps of the official documentation will be enough.
Installing ArUco Library
The latest release package can be found on sourceforge. Now you need to extract and compile the source code using cmake(the instructions mentioned below work on linux; for windows you can use use cmake-GUI).
Note that the official documentation recommends installing it in a working directory, rather than with sudo or admin privileges. Supposing you downloaded it in Downloads, open terminal — note that xxx is downloaded zip library version
cd ~/Downloads
unzip arucoxxx.zip
cd aurucoxxx
mkdir build
cd build
cmake .. -DCMAKE_INSTALL_PREFIX=<pathToInstall>
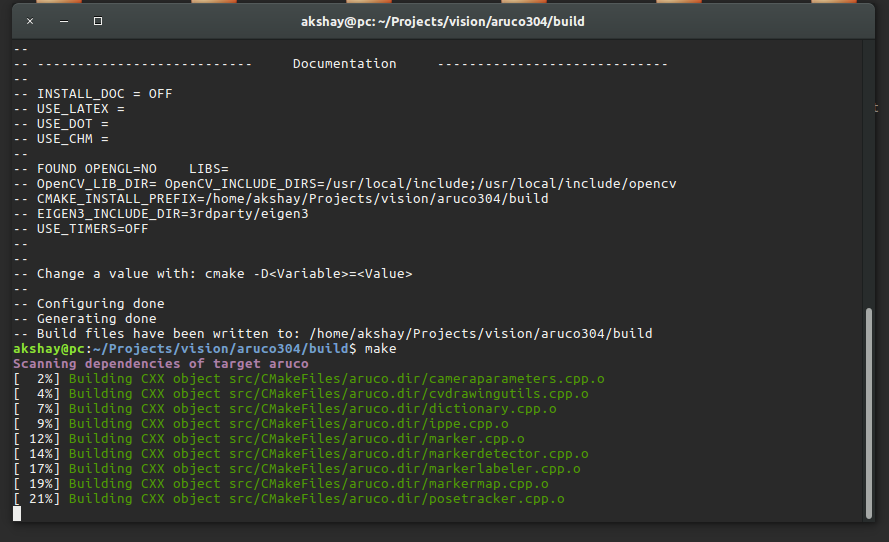
make
make install
Here the pathToInstall will be preferred location. I kept it in the same folder as
-DCMAKE_INSTALL_PREFIX=../aruco_src

To make sure that ArUco finds the correct library files, generate a config file(refer this blog for more).
sudo gedit /etc/ld.so.conf.d/aruco.conf
# Add the following line and save it:
# /usr/local/lib

# Now, in your terminal, execute:
sudo ldconfig
Note that since the installation is not global you’ve to always include pathToInstall in CMakeLists.txt file of your project as
# Adding local ArUco Library
include_directories(/home/<pc-name>/Downloads/arucoxxx/aruco_src/include/)
link_directories(/home/<pc-name>/Downloads/arucoxxx/aruco_src/lib/)
That’s it. Found this article helpful? If so, please comment below. Feel free to ask any questions.
